As we’ve discussed in the HTML5 Canvas Guide, there are a few libraries out there that are worth looking into if you want to create something interactive with HTML5 Canvas.
In this tutorial we will look at the basics of Pixi.js.
What You Will Learn:
- How to draw basic shapes with Pixi.js
- How to add shapes to the canvas
- How to use
moveTo(),lineTo(),pivot.set(),drawCircle(),drawRect()and more!
1. Pixi.js Setup
Assuming that we have a basic html document, all we have to do to start working with Pixi.js is to include a reference at the bottom of our document.
        <!-- Include local copy of Pixi.js -->
        <script src="pixi.min.js"></script>

        <!-- or link to Pixi.js on CDN -->
        <script src="https://cdnjs.cloudflare.com/ajax/libs/pixi.js/4.0.2/pixi.min.js"></script>

        <!-- the rest of our PIXI.js code -->
        <script src="main.js"></script>
    </body>
</html>
main.js will include the rest of our code. I am using CodePen for the final demo, you can find the PIXI code in the JS pane of the CodePen.
If you want to follow step by step, feel free to fork the starting CodePen.
You can find a reference to everything that we will cover in this tutorial, by going to the official Pixi.js Documentation.
2. Creating The Renderer And Stage
Now that we have included Pixi.js, we need to create the renderer, stage and append it to our html.
// 1. Create a Pixi renderer and define size and a background color
var renderer = PIXI.autoDetectRenderer(400, 400);

// 2. Append canvas element to the body
document.body.appendChild(renderer.view);

// 3. Create a container that will hold your scene
var stage = new PIXI.Container();

// add stage to the canvas
render();

function render(){
    renderer.render(stage);
}
Now we see a black 400x400 canvas element appended to the page.
The border is coming from our CSS.
PIXI.autoDetectRenderer will tell the browser to use WebGL first and use Canvas as a fallback. If you want to force Canvas rendering, create your render like this:
var renderer = new PIXI.CanvasRenderer(400, 400);
How To Create A Transparent CANVAS?

We can change the default background color to something else or make it completely transparent.
var renderer = PIXI.autoDetectRenderer(400, 400, {

  // create transparent canvas
  transparent: true,

  // change background color to blue
  backgroundColor: '0x86D0F2'

});
We will keep the Canvas transparent for the rest of this tutorial.
3. How To Draw Some Basic Shapes with Pixi.js
Now let’s draw some basic shapes on the canvas. We will add each shape between step 3 and the render function
// 3. Create a container that will hold your scene
var stage = new PIXI.Container();

// draw shapes here

// add stage to the canvas
render();
Creating a Line, Circle, Rectangle and Triangle
The first thing we’ll draw is a line.
Line
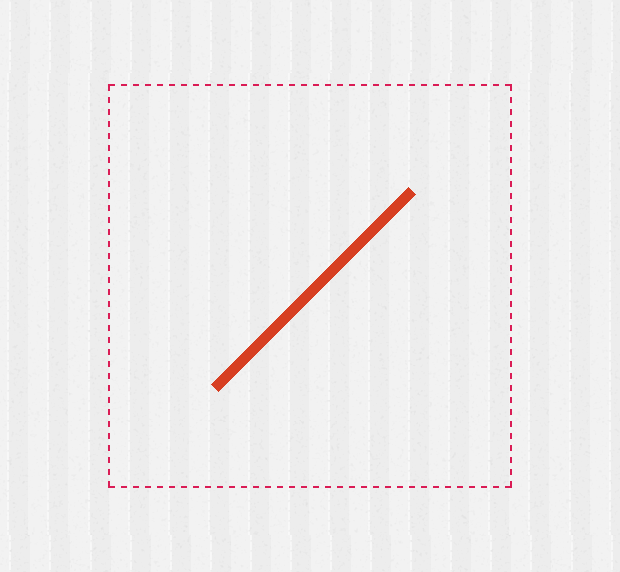
// 4a. Create a line
var line = new PIXI.Graphics();

// Define line style (think stroke)
// width, color, alpha
line.lineStyle(10, 0xD5402B, 1);

// Define line position - this aligns the top left corner of our canvas
line.position.x = renderer.width / 2;
line.position.y = renderer.height / 2;

// Define pivot to the center of the element (think transformOrigin)
line.pivot.set(0,140);
line.rotation = 0.785398; // in radiants - use google to convert degrees to radiants

// Draw line
line.moveTo(5,0);
line.lineTo(5, 280);

stage.addChild(line);
I could go into a detailed explanation here, but I think you learn more by changing the individual values in the CodePen yourself.
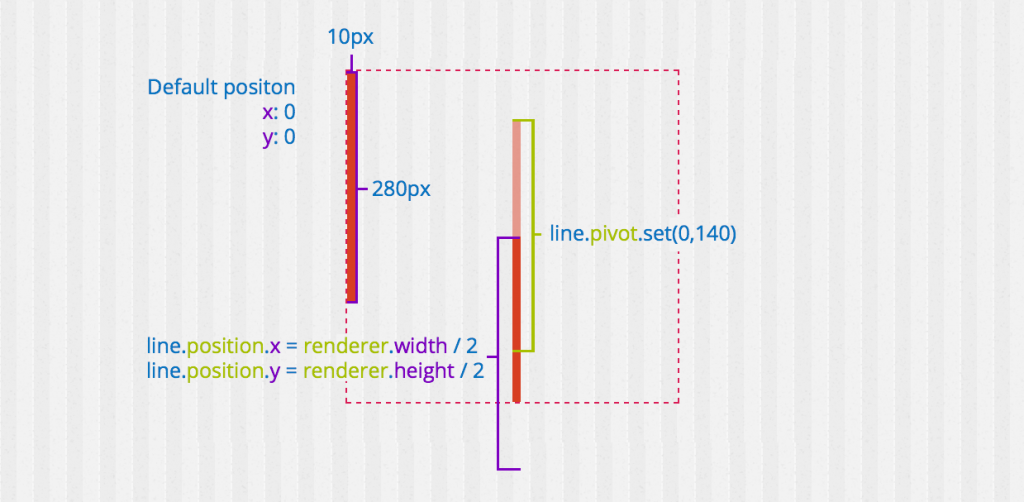
Here is a visual indication of what is happening:
lineStyle defines the width, color and alpha (opacity) of our line.
position.x and position.y defines the position on the canvas.
line.pivot and line.rotation are even more interesting.
pivot is the pivot point of the PIXI.Graphics() that it rotates around.
Think about this like the transform-origin from CSS.
line.rotation rotation needs to be set in radians.
Simply google “45 degrees to radians” to get the right value.
Once we have defined the properties and position of the line we are adding it to the stage:
stage.addChild(line);
We will add all the following shapes the same way.
Circle
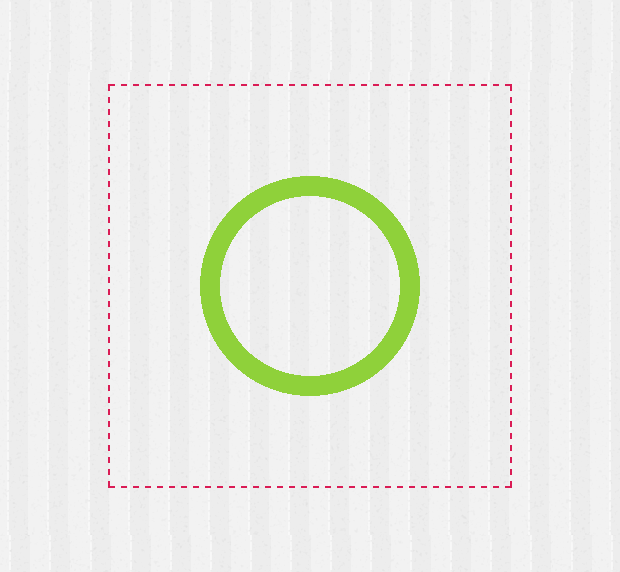
// 4b. Create a circle
var circle = new PIXI.Graphics();

// define outline = stroke
circle.lineStyle(20, 0x91CF46, 1);

// draw circle (x, y, radius)
circle.drawCircle(renderer.width / 2, renderer.height / 2, 100);

stage.addChild(circle);
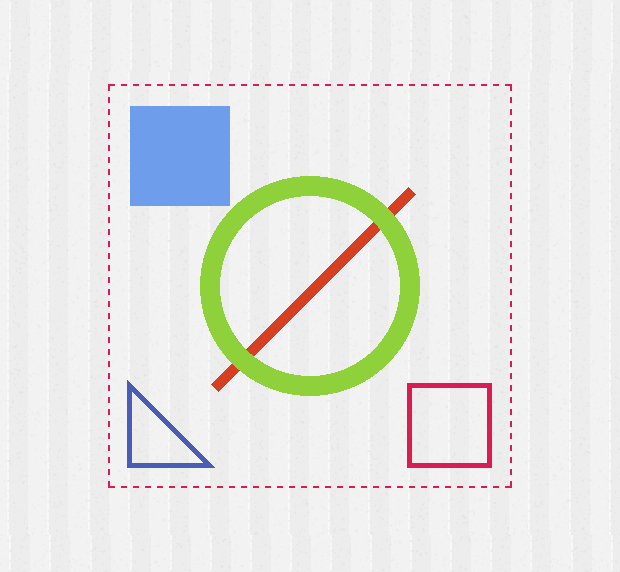
Here we are creating a green circle in the middle of the canvas.
If we wanted the circle to be filled with a color we could define that using beginFill() like this:
// define fill of our circle
circle.beginFill(0x709FE9, 0.5);
This will fill the circle with a blue color and set the opacity of the fill to 50%.
drawCircle method takes 3 parameters – x, y and radius.
Rectangle
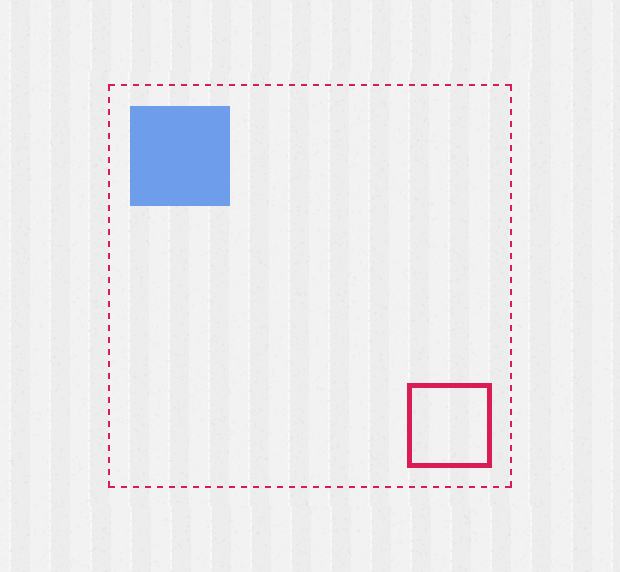
// 4c. Create 2 rectangles
var rect = new PIXI.Graphics();

// define fill and rectangle size
rect.beginFill(0x709FE9, 1);

// x, y, width, height
rect.drawRect(20, 20, 100, 100);
rect.endFill();

stage.addChild(rect);

var rect2 = new PIXI.Graphics();
rect2.lineStyle(5, 0xD82257, 1);
rect2.drawRect((renderer.width - 100),(renderer.height - 100),80,80);

stage.addChild(rect2);
beginFill defines a color that will be used for any other following shapes, until we call endFill().
drawRect method takes 4 parameters – x, y, width and height.
Triangle
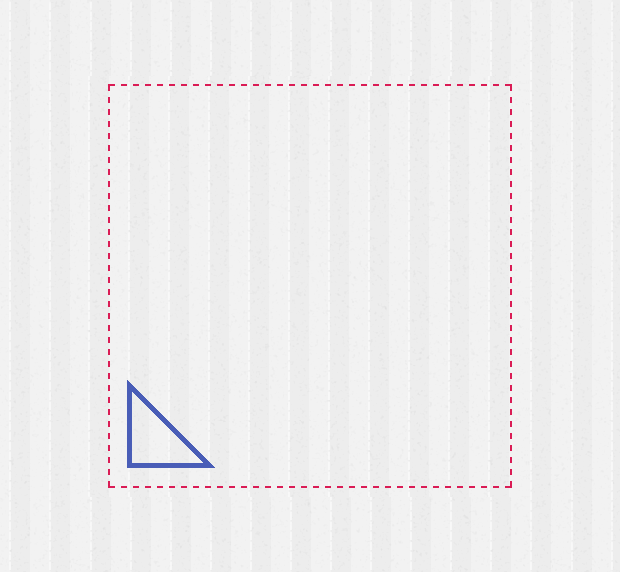
The last shape that we will create is a triangle.
// 4d. Create a triangle
var triangle = new PIXI.Graphics();

triangle.lineStyle(5, 0x4A5FB4, 1);
triangle.moveTo(20,300);
triangle.lineTo(100, 380);
triangle.lineTo(20, 380);
triangle.lineTo(20, 300);

stage.addChild(triangle);
Triangles are created by drawing a line from a specific point moveTo(x,y) and then moving the “brush” using the lineTo(x,y) method to another point.
We close the shape by setting the initial and the last point to the same value 20,300.
4. Anti-aliasing
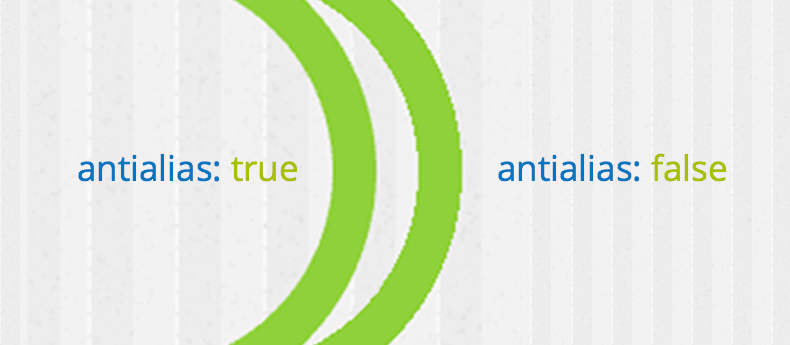
If you look at the close of the circle, you will see rough edges. To smoothen it out, we can apply the anti-aliasing to the renderer.
Try adding antialias: true to the renderer constructor.
var renderer = PIXI.autoDetectRenderer(400, 400, {
    antialias: true
});
This will smooth the edges around the circle.
5. Final Demo
Here is the final demo with all shapes rendered on the canvas.
4864
Conclusion
I hope that you have found this introduction to Pixi.js useful. In the following tutorials we will dive in deeper and learn more about images, masking and much more.
Let me know if there is anything specific related to HTML5 canvas and Pixi.js that you would like to see covered in this series.
Until next time, happy coding.
Related Articles
- Getting started with Pixi.js
- The Guide to HTML5 Canvas JavaScript Libraries
- The Guide to Scrolling Animation Libraries
Like What You're Reading?
Sign up to receive my future tutorials and demos straight to your inbox.
No spam, Unsubscribe at any time.


Great article!
Very interesting topic and I’m excited about learning more about it! 🙂
Thanks Petr!! 🙂
You are awesome Norman! Just published the second part about images and filters. Check it out.
Thank you for the tutorial! When I look at these simple shapes I understand they’ve got a great power to create the forms we’re surrounded by. Looking forward to your next article 🙂
Hi ! Thanks very much. Please continue those tutorials with advanced animation / interactives moves with the scrollbar. I really want to know how to deal with canvas. Your tuts are awesome. Thanks Petr
Thanks David!
Can’t wait for the next 🙂