
My first tutorial how to “Create Apple navigation using Greensock” was so popular among other front-end developers and designers, that I have decide to share another one with you today.
This time we will try to recreate the even slicker Apple Shop Mac navigation using jQuery and Greensock. Because the code is more complex than last time, I have decided to break down my explanation into two posts.
I will cover the initial function animateSlides today and the remaining updateNav and resetStage in the next post.
Follow me @ihatetomatoes if you don’t want to miss out on the second part.
HTML/CSS
Similar to last time, I have used the default HTML5 Boilerplate as a starting point and borrowed most of the html and css from Apple’s website.
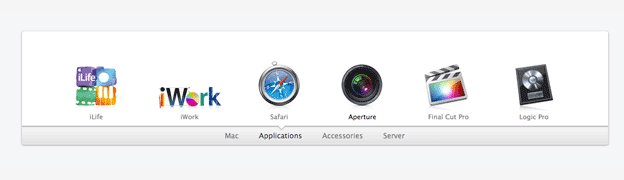
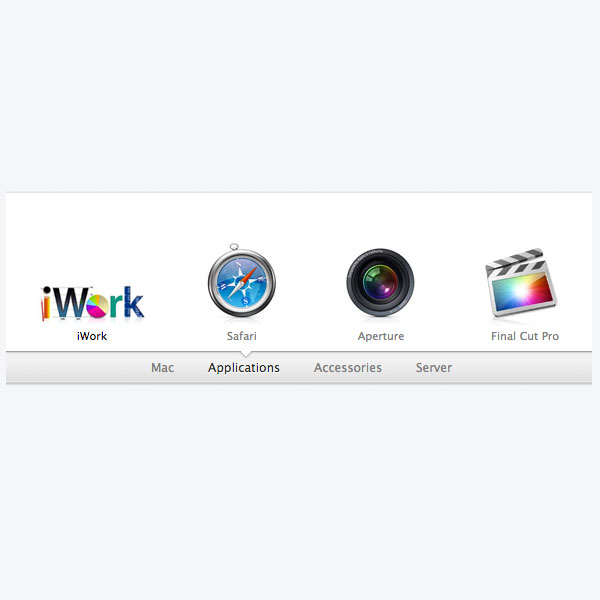
<!-- Simplified html for illustration purposes -->
<div class="productbrowser content pb-opened" id="pb-mac">
	<div class="pb-slider">
		<div class="pb-slide">
			<ul class="ul-slider" page="1">
				<li class="pb-macbookair">
					<a href="#"><img src="images/macbookair.jpg" alt="">MacBook Air</a>
				</li>
				<li class="pb-macbookpro">
					<a href="#"><img src="images/macbookpro.jpg" alt="">MacBook Pro</a>
				</li>
				...
			</ul>
			<ul class="ul-slider" page="2">
				...
			</ul>
			<ul class="ul-slider" page="3">
				...
			</ul>
			<ul class="ul-slider" page="4">
				...
			</ul>
		</div>
	</div>

	<div class="pb-pageindicator roundedbottom page-2" id="pb-pi-mac"><div>
		<b class="caret"></b>
		<a class="page active" page="1">Mac</a>
		<a class="page" page="2">Applications</a>
		<a class="page" page="3">Accessories</a>
		<a class="page" page="4">Server</a>
	</div></div>
</div>
The aim of this tutorial is to dive straight into the interactive side of things, with the assumption that you are already familiar with well structured HTML and CSS code.
jQuery – Greensock
All the magic happens in main.js and we will use jQuery for selecting our objects and Greensock for the animations.
1. Setup variables and functions
$(document).ready(function() {

	var slide = $('.ul-slider'),
		navigationLinks = $('.pb-pageindicator a'),
		activeNavLink = $('.pb-pageindicator a.active'),
		navArrow = $('.caret');

	$(productbrowser).addClass('pb-dynamic');
	$(slide).not('.ul-slider:eq(0)').hide(); //hide all slides apart from 1st one
	$(slide).eq(0).addClass('active'); //add active class

	/* Navigation - click stuff */
	$(navigationLinks).click(function() {
		animateSlides(this);
	});

	/* Slides Animation - magic */
	function animateSlides(e){

	}

	/* Update Nav - animate the little man */
	function updateNav(e, pageID){

	}

	/* Reset Stage - clear the table */
	function resetStage(e){

	}

});
We setup our variables and functions which we will need later on. We are also hiding all slides apart from the active one on page load.
2. Slides Animation Setup
	/* Slides Animation */
	function animateSlides(e){

		$(navigationLinks).unbind('click');

		var pageID = $(e).attr('page'),
			slideIn = $(".ul-slider[page='" + pageID + "']"),
			slideOut = $('.ul-slider.active'),
			products = $($(slideOut).find('li').get()),
			slideInProducts = $($(slideIn).find('li').get()),
			tl = new TimelineMax({onStart:updateNav, onStartParams: [pageID], onStartScope: e, onComplete:resetStage, onCompleteScope: e});

		$(slideIn).show();
		$(navigationLinks).removeClass('active');
		$(e).addClass('active'); //add active to active nav item

	}
We remove a click event from the navigation links to prevent crazy people trying to break our work. slideIn and slideOut are our product containers. products and slideInProducts are individual product items. tl is our new timeline with a callback function updateNav on start and resetStage on completion.
Now to the fun part of the job.
3. Slides Animation Timeline
	/* Slides Animation */
	function animateSlides(e){

		$(navigationLinks).unbind('click');

		var pageID = $(e).attr('page'),
			slideIn = $(".ul-slider[page='" + pageID + "']"),
			slideOut = $('.ul-slider.active'),
			products = $($(slideOut).find('li').get()),
			slideInProducts = $($(slideIn).find('li').get()),
			tl = new TimelineMax({onStart:updateNav, onStartParams: [pageID], onStartScope: e, onComplete:resetStage, onCompleteScope: e});

		$(slideIn).show();
		$(navigationLinks).removeClass('active');
		$(e).addClass('active'); //add active to active nav item

		tl
		.staggerTo(products, 0.6, {css:{x:'-=960'}, ease:Power4.easeOut }, 0.02)
		.staggerFromTo(slideInProducts, 0.5, {css:{x:'960'}, ease:Power4.easeIn }, {css:{x:'30'}, ease:Power4.easeIn }, 0.05)
		.staggerTo(slideInProducts, 0.5, {css:{x:'0'}, ease:Elastic.easeOut.config(2) }, 0.05, "-=0.25");

	}
Firstly we animate the current products out of the view x:'-=960', then we animate individual products of the next slide to x:'30'. This is intentional, because we do not want the elastic effect to be calculated from the whole distance of the animation.
The last staggerTo with Elastic.easeOut creates a little elastic bounce at the end of the timeline, which is exactly what we wanted.
"-=0.25" on the last slideInProducts tween makes it overlap with the previous tween and gives the impression of one seamless animation.
4. Slides Reverse Animation Timeline
	/* Slides Animation */
	function animateSlides(e){

		$(navigationLinks).unbind('click');

		var pageID = $(e).attr('page'),
			pageIDactive = navigationLinks.filter('.active').attr('page'),
			slideIn = $(".ul-slider[page='" + pageID + "']"),
			slideOut = $('.ul-slider.active'),
			products = $($(slideOut).find('li').get()),
			slideInProducts = $($(slideIn).find('li').get()),
			tl = new TimelineMax({onStart:updateNav, onStartParams: [pageID], onStartScope: e, onComplete:resetStage, onCompleteScope: e});

		$(slideIn).show();
		$(navigationLinks).removeClass('active');
		$(e).addClass('active'); //add active to active nav item

		if(pageID > pageIDactive){

			tl
				.staggerTo(products, 0.6, {css:{x:'-=960'}, ease:Power4.easeOut }, 0.02)
				.staggerFromTo(slideInProducts, 0.5, {css:{x:'960'}, ease:Power4.easeIn }, {css:{x:'30'}, ease:Power4.easeIn }, 0.05)
				.staggerTo(slideInProducts, 0.5, {css:{x:'0'}, ease:Elastic.easeOut.config(2) }, 0.05, "-=0.25");

 		} else {

 			var products = $($(slideOut).find('li').get().reverse()),
				slideInProducts = $($(slideIn).find('li').get().reverse());
			tl
			.staggerTo(products, 0.6, {css:{x:'960'}, ease:Power4.easeOut }, 0.02)
			.staggerFromTo(slideInProducts, 0.5, {css:{x:'-=960'}, ease:Power4.easeIn }, {css:{x:'30'}, ease:Power4.easeIn }, 0.05)
			.staggerTo(slideInProducts, 0.5, {css:{x:'0'}, ease:Elastic.easeOut.config(2) }, 0.05, "-=0.25");

		}

	}
Now we need to reverse the animation based on the current and next slide position. To do that we compare pageID and pageIDactive, then we reverse the order of the selected products using .reverse(). Finally reverse the x:'-=960' in the reversed timeline.
Conclusion
That’s it! Now we have a nice, smooth bouncy animation as seen on the Apple Store recreated using jQuery and Greensock.
I will explain the remaining functions in the next post and also share the final files with you. Enjoy your day and feel free to leave a comment if you have any questions or feedback.
Related Aticles
- Tutorial: Create the Apple Mac website navigation using Greensock [Part 2]
- Tutorial: Create Apple navigation using Greensock
Like What You're Reading?
Sign up to receive my future tutorials and demos straight to your inbox.
No spam, Unsubscribe at any time.
AMAZING … Thank you