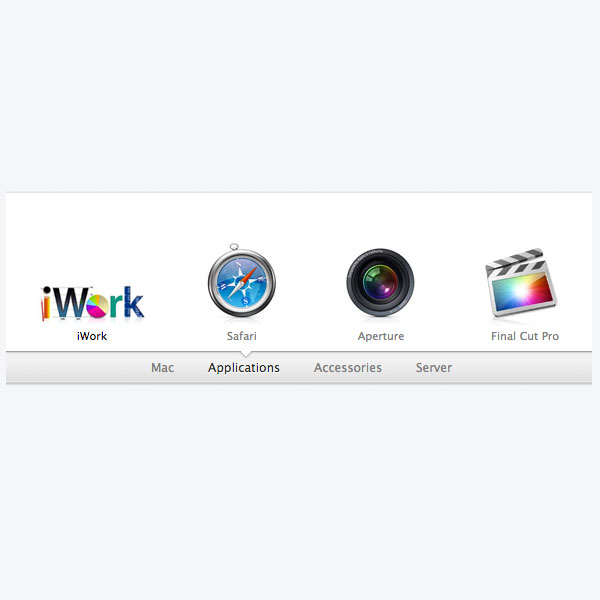
In the first part of this tutorial we looked at the animateSlides function which does the heavy lifting and animates our slides left and right. Today we will cover the two remaining functions, updateNav and resetStage.
5. Animate Navigation Arrow
	function updateNav(e, pageID){
		$(".ul-slider[page='" + pageID + "']").addClass('active');

		var centerPoint = parseInt(($(this).width())/2),
			oldOffset = parseInt($(this).offset().left - $(this).parent().offset().left),
			newOffset = oldOffset + centerPoint + 1,
			tl = new TimelineMax();

		tl.to(navArrow, 0.4, {css:{x:newOffset}, ease:Linear});
	}
This function moves the navigation arrow to the right spot. Each navigation item has a page attribute associated with it. We will use this value page="2" and add a class active to a slide matching the same value. We also animate navArrow to a newOffset calculated from oldOffset and the new active item centerPoint.
6. Reset Stage – Clear the table
function resetStage(e){
	var pageID = $(this).attr('page'),
		currentSlide = $(".ul-slider[page='" + pageID + "']"),
		currentSlideItems = $(".ul-slider[page='" + pageID + "'] li");

	//remove active class and hide all slides apart from the current one
	slide.removeClass('active');
	slide.not(currentSlide).hide();

	//add class to the active nav item and current slide
	$(this).add(currentSlide).addClass('active');

	$(navigationLinks).not($(this)).bind('click', function(){
		animateSlides(this);
	});
}
This function basically clears the table. Firstly we remove the active class from the previous slide and hide it. Secondly we add an active class to currentSlide and the current navigation item. Lastly we bind back the click event to all navigation links except the current one.
Conclusion
If you’re an experienced front-end developer then the jQuery code in this tutorial should be quite straight forward for you. If this is the case, then hopefully you have still learnt something new about the Greensock syntax and how it works.
If you’re a beginner, then you might find this overwhelming. But don’t worry. Just download the final files and explore the code in your free time. By exploring other developers code, it is by far the best way to learn.
Have you learnt something new in this tutorial? Let me know in the comments below!
Related Articles
- Tutorial: Create the Apple Mac website navigation using Greensock [Part 1]
- Tutorial: Create Apple navigation using Greensock
Like What You're Reading?
Sign up to receive my future tutorials and demos straight to your inbox.
No spam, Unsubscribe at any time.


how can i show page 2 be the default page
Hi Mike, you would need to modify a few things in the main.js. It’s not a one line change, but it’s doable.
I will be creating more Greensock tutorials in the coming weeks, that might help you to tackle it.
Cheers
Petr
Looks like a great product showcase. Is this available as a wordpress plugin, so I can just shortcode it? I need help installing to my website.
Jeffrey, thanks for the feedback. I don’t have a WP plugin for this, you would need to tackle the implementation on your own. Feel free to use the files though. Good luck.
Is this what should go in my header tags?
window.jQuery || document.write(”)
Hey Jeffrey, looks like you comment was stripped out of some code. It’s better if you call your jQuery and all other plugins at the bottom of you html.
You can read more on jQuery here.